|
Op: Bill Crosier QTH: Melbourne, FL. County: Brevard Radio: TS-870s Antenna: MA5B QSL info via QRZ

|
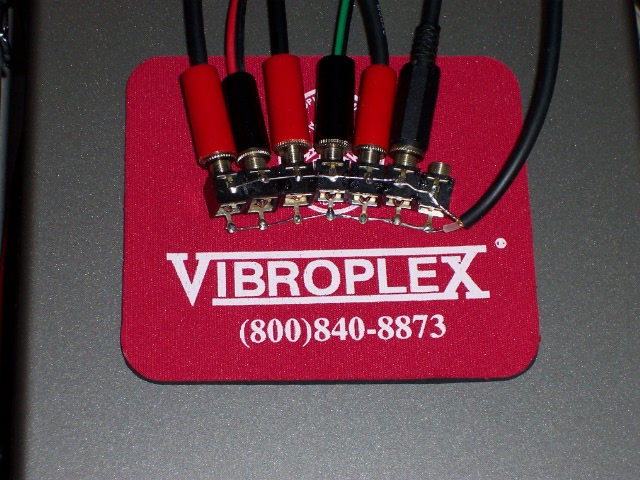
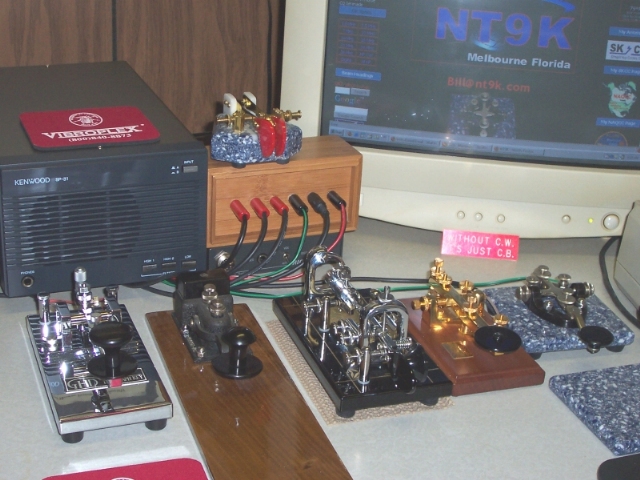
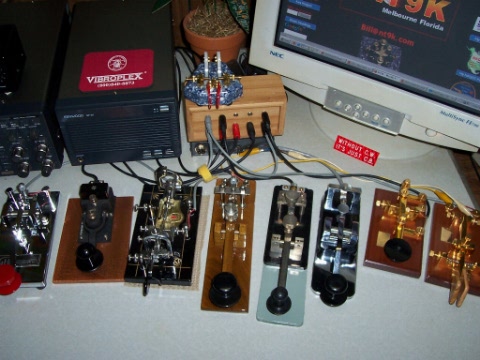
DIY with NT9KHow to strip and polish a Navy FlameproofWell, I started by taking the key apart. This is no easy chore either. You can take off all the parts you can remove first, then come the 3 pins to punch out. Two of the pins are visible on the ends of the axle, but the center pin is hidden under a small access screw between the gap and spring adjustment knobs on top of the main body of the key. That center pin needs to be punched from the top down. I broke 2 new punches doing it and felt lucky that I didn't damage the key. The center pin is the hardest part. Once your key is apart, the lever, the main body housing and the bottom plate all got stripped. I used a spray type paint stripper called Klean Strip from Walmart. It was messy, but came off easy and cleaned up with soap and water. Zero harm to the metal with this stuff. Now you should have something that looks like this: I went over it with a dremel tool using a wire wheel first. Then I hand sanded with 400 grit paper and a green scotch brite pad. Then I polished it for about 30 hours using my dremel tool, felt pads, cones and discs. I used Blue Magic metal polish, again from Walmart. That is good stuff and even works on plastic and corian. My key was old and the knob, skirt, and binding post covers were in bad shape, all scratched up and dirty. Now they look better than the newest FP I own. So now I had this much done: After I sanded off the yellow stuff, I polished the base plate. It went much quicker being flat, maybe 4 hours on that part? By now I figured that I had enough time in it and decided to put it back together. It went back together pretty easy except for the spring. I finally got the little devil in the hole and put the rest of the parts back on it. You have to be real careful putting the axle back in. The 3 holes for the pins are not drilled on center and it only goes in one way. I had sanded down the pins a tiny bit and didn't have any trouble putting them back in. The hardest part of assembly was the spring and orienting the axle. The finished key is mounted on a 1/4 inch thick piece of copper with a clear coat. I'm very pleased with the way it turned out. Make a multi-key patch panelThe box is bamboo and was in the Walmart kitchen department next to the kitchen drawer organizers like you keep your forks, knives and spoons in. They come in 3 sizes, this is the smallest and I think it was less than 2 bucks. I started out with a 6 jack version and outgrew that one and gave it away, made another 10 hole version and have almost filled it up. Should have made 12 holes. There is also room for improvements. I thought about putting an oscillator inside the box for practice. Adding another input line and a switch to run 2 rigs and be able to use all your keys. You could leave out the switch if you only run one of the rigs at a time. I also considered adding another row of jacks to serve as speaker jacks. I could run a cable to the rigs speaker jack and have multiple outputs on the desktop. One for my cans, one for the rigblaster, one for the pc or all at the same time. Point is, you can do lots of useful stuff with this box. The box bottom is a tad thick for the jacks to go through and still be able to get the nuts on. I just put a round dremel tool grinding stone on and in seconds thinned the thickness down, marked my straight line and drilled the holes. I used stereo jacks, because that is what I had. You can use mono jacks if you only use straight keys. Just solder all the tips together, then solder all the rings together. Connect a cable to run to your rigs key jack and you're all set. This is an easy project. Good luck with it. If you or anyone needs help with it, let me know. Here are some photos.

|


KD4KPY KD4LBI KD4PZR KF9QJ 
Tetris Bejeweled Snow Drifting Drifting Game Asteroids PakMan ArmySWAT Chess Penquins Bloody Day Battleship Match Game Rush Hour Skeet 
|


|
|